
Using textures from a resource wad
for a Doom format map
in 9 easy steps
You have seen, for example, which textures were used in Eviternity and you really like those textures. Now you think that some of those textures would look really cool in your pwad as well. So, how can that be achieved?
It is really quite simple when using a lump editor like Slade3.
Preliminary
But first we have to learn how Doom manages textures.
In the early days, when idSoftware developed Doom, memory space was at a premium, so a system of reusing socalled patches was introduced, to create textures from either one or multiple patches. This system allows for dozens of textures to be displayed from a few patches, without having actual texture images. Very similar to how midi produces sound tracks.
In DOOM2, all the patches are in a patch namespace, between P_ markers, P_START and P_END. For some reason idSoftware divided that namespace into 3 sections, P1_, P2_ and P3_.

However, in your own pwad it is not necessary to use those subdivisions, unless you feel that the patches need to be split into specific groups.
For example, let's look at two textures from DOOM2.wad, REDWALL and BIGDOOR1.
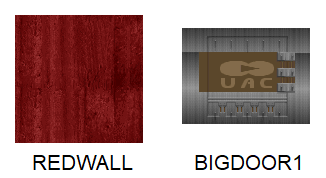
The texture REDWALL is comprised of a single patch, Wall78_1

The texture BIGDOOR1 is comprised from 2 patches, one patch DOOR2_1 and another patch W13_1 used 4 times.
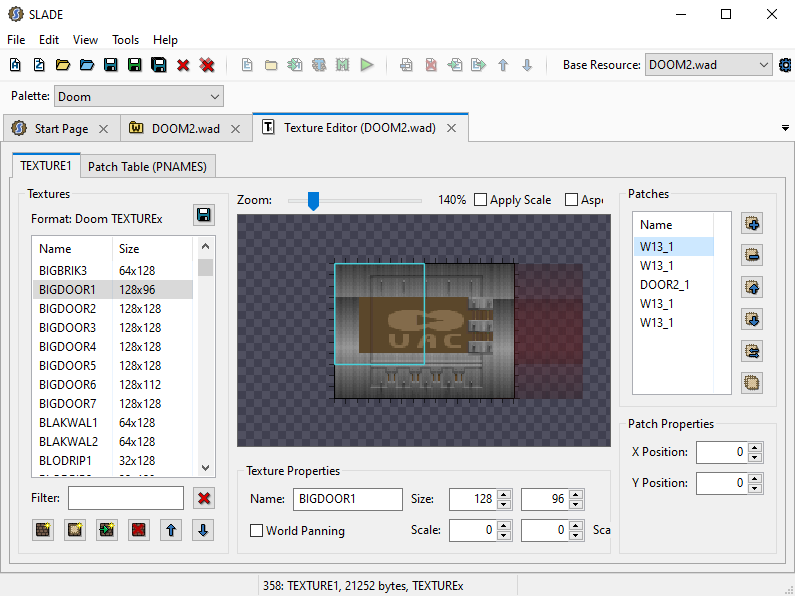
When a texture is made up from multiple patches, then the offset for each patch is very important, since the offset determines where the patch is placed and thus visible.
Step 1 : load OTEX.wad into Slade3
Now let's take a look at how this works with the textures from Eviternity, which uses the resource pwad OTEX.wad.
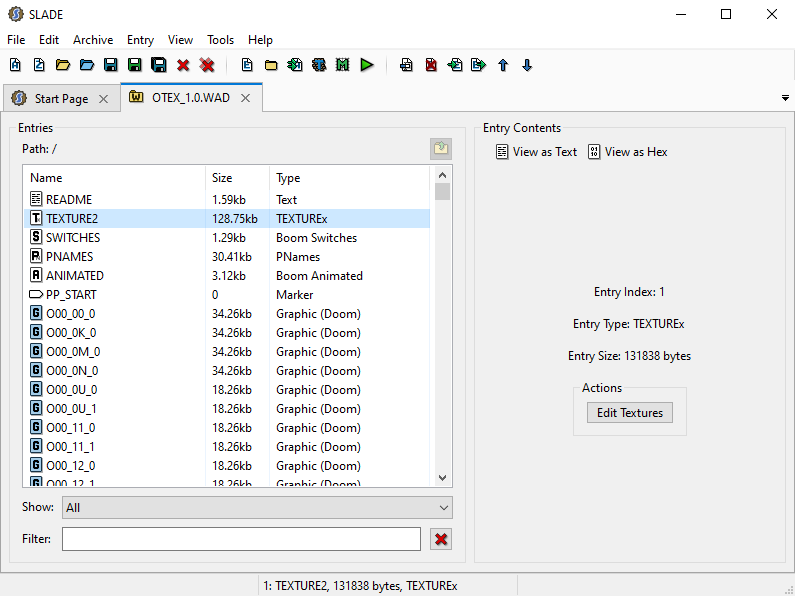
Important point:
OTEX uses TEXTURE2 instead of TEXTURE1, which is good. But more about that later in the final step.
To copy the OTEX textures click on TEXTURE2 and then click on Edit Textures to open the texture editor. Or just doubleclick on TEXTURE2.

Step 2 : export the textures into a folder
With the texture editor open, highlight every texture. Then rightclick on one of them to open the menu Export To, then PNG file.

Then, in the Windows Explorer window which opens, select/create a folder where you want to store the textures, for example OTEX_EXTRACTED. This saves 2536 textures as png files.
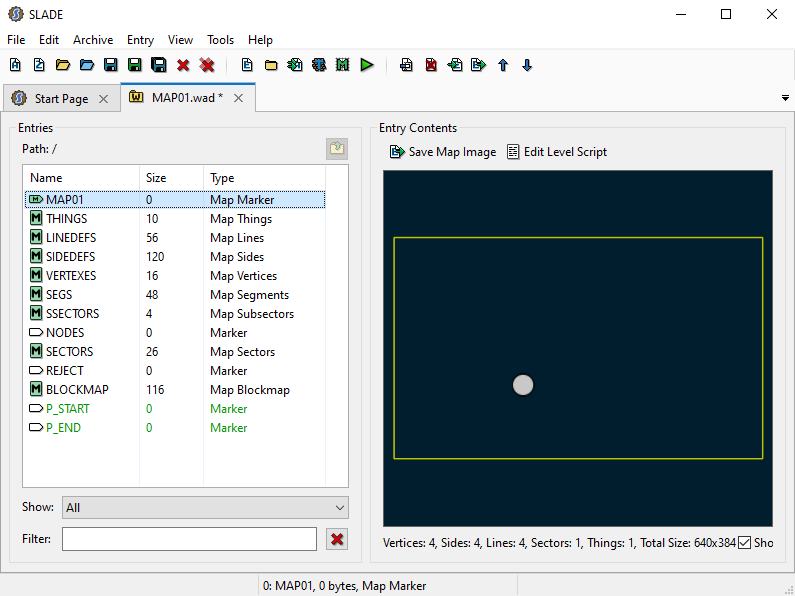
Step 3 : load your pwad into Slade3
Close the Otex tabs and load your map.
At the end of the MAP namespace make 2 new entries, P_START and P_END.
Step 4 : drag the png images int your pwad
Now drag all textures from OTEX_EXTRACTED to inbetween the P_ markers.

Step 5 : convert the images from png to doom format
Now convert the textures from png to Doom format.
Highlight all textures and rightclick on one
of them. Then choose Graphics and Convert To

This menu pops up

Click on Convert All.
Be patient, this process will take a while.
Step 6 : save the map
Once the textures are converted, save the map.

Step 7 : create TEXTURE1 and PNAMES lumps
At this point, you may have noticed that I saved the map with a different name.
Highlight all textures. Rightclick on one of them
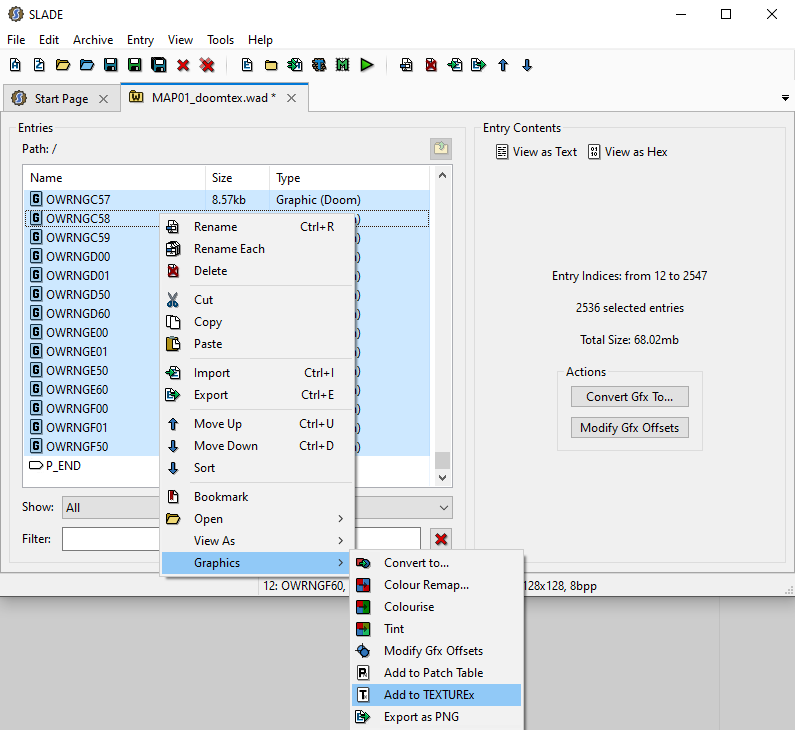
Select Graphics and Add to TEXTUREx
Next comes on informative popup
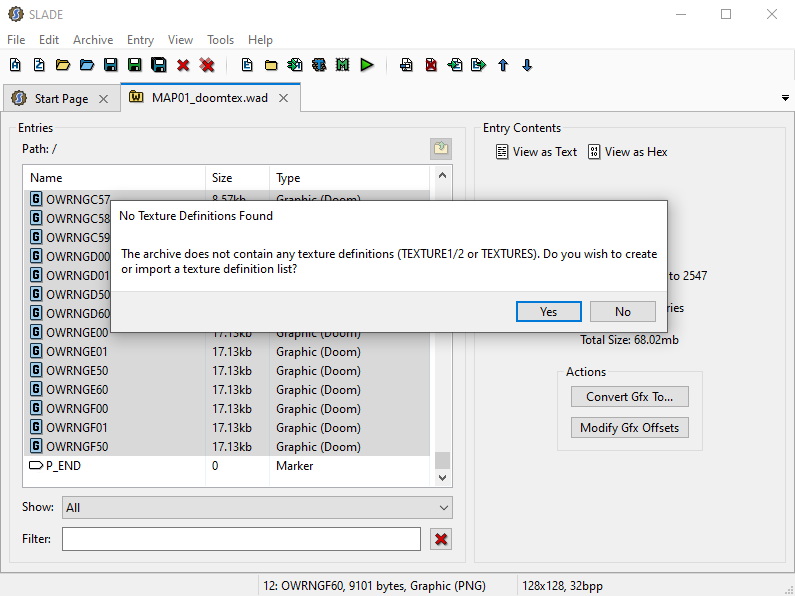
Click on Yes and this menu pops up

Choosing which Format is simple, we know that it is Doom (TEXTURE1+PNAMES).
Before clicking on OK you have to consider the two options for Source.
Let's take Import from Base Resource Archive first:
this option will add all highlighted patches to the patches in TEXTURE1/PNAMES of the source IWAD,
namely DOOM.WAD. This is what would be selected normally.
Next, let's consider Create New (Empty): this option, as the name implies, creates a TEXTURE1/PNAMES combination of just the highlighted patches. This is good when you want to isolate your patches from interference from other TEXTURE1 lumps, as the one in DOOM.WAD. But, as in the case of OTEX.WAD, for that interference to be avoided, the generated TEXTURE1 lump must be renamed to TEXTURE2.
So, we stick with the way OTEX did it and select Create New.
Click on OK.
This will generate 3 lumps, S3DUMMY, TEXTURE1 and PNAMES. TEXTURE1 is the catalog of how the textures are stitched together from the patches, and PNAMES is a list of the textures. It is these two lumps which determine what textures are availble to the editor and, most importantly, the game.

Step 8 : rename TEXTURE1 to TEXTURE2
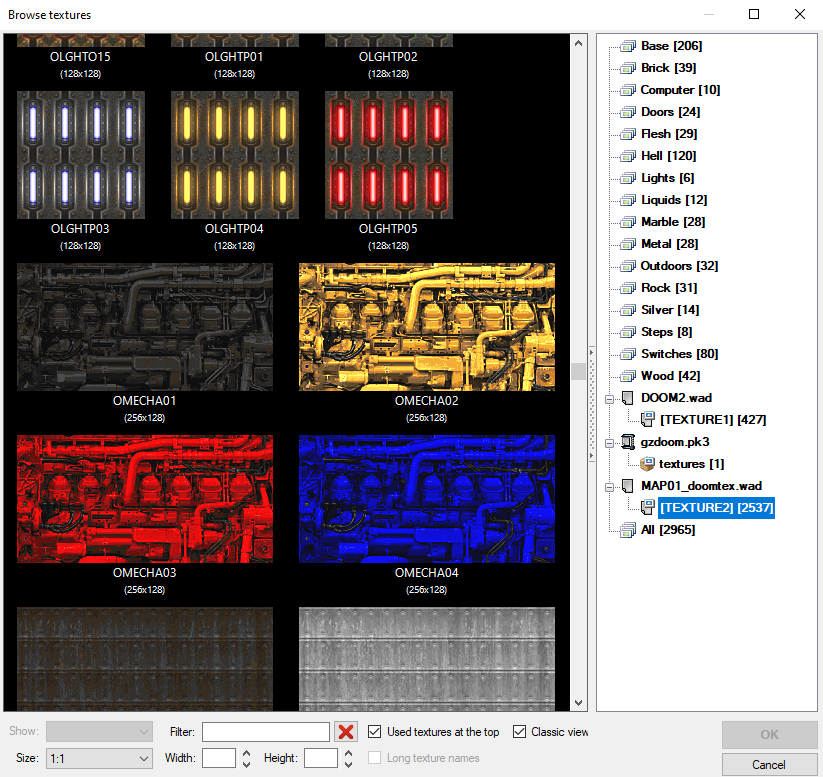
Remember when I mentioned that OTEX was using a TEXTURE2 lump instead of the more common TEXTURE1 lump?
Here is why.
Without any other TEXTURE1 lump, DOOM2 textures are available through the TEXTURE1 lump. Because
TEXTUREx lumps do not concatonate (for example the last TEXTURE1 lump will overwrite the previous
TEXTURE1 lump) we need to rename the generated TEXTURE1 lump to TEXTURE2.

Save the map.
Now, all textures from DOOM2.wad and the new textures are available.
One more step for completeness
Copy the flats as well
Okay, so much for the textures. But what about the flats?
Well, that is even simpler. Open OTEX.wad and your map with Slade3.
In your map, at the very bottom of the lumps make two new entries F_START and F_END. Highlight all
flats in OTEX.wad and copy/paste them into your map inbetween the F_ markers.
For a BOOM format map
If your map is for the BOOM format, then you could also copy/paste the lumps SWITCHES and ANIMATED to make use of them.
Kappes Buur, January 2020